How to Perform CPR: A Step-by-Step Guide You MUST Know
Cardiopulmonary resuscitation (CPR) is a crucial lifesaving technique useful in many emergencies, such as a heart attack or near drowning, where someone’s breathing or heartbeat has stopped. If you’re ever in a situation where someone needs CPR, knowing how to perform it can make all the difference. Here, you’ll learn the essential steps to take to perform CPR correctly.
Before Starting CPR
First off, ensure the scene is safe for both you and the victim. Then, check if the person is responsive by gently tapping them and shouting, “Are you okay?” If there’s no response, then check for breathing by placing your ear near the person’s mouth and nose while looking at their chest. If the person is not breathing or only gasping, call for emergency medical help immediately or ask someone else to do so. If you’re alone, perform CPR for a short while before calling for help.
The CPR Process
CPR consists of two common versions: chest compressions and rescue breaths. Performing them correctly helps circulate blood that contains oxygen to the victim’s brain and other vital organs, providing a critical lifeline until professional help arrives.
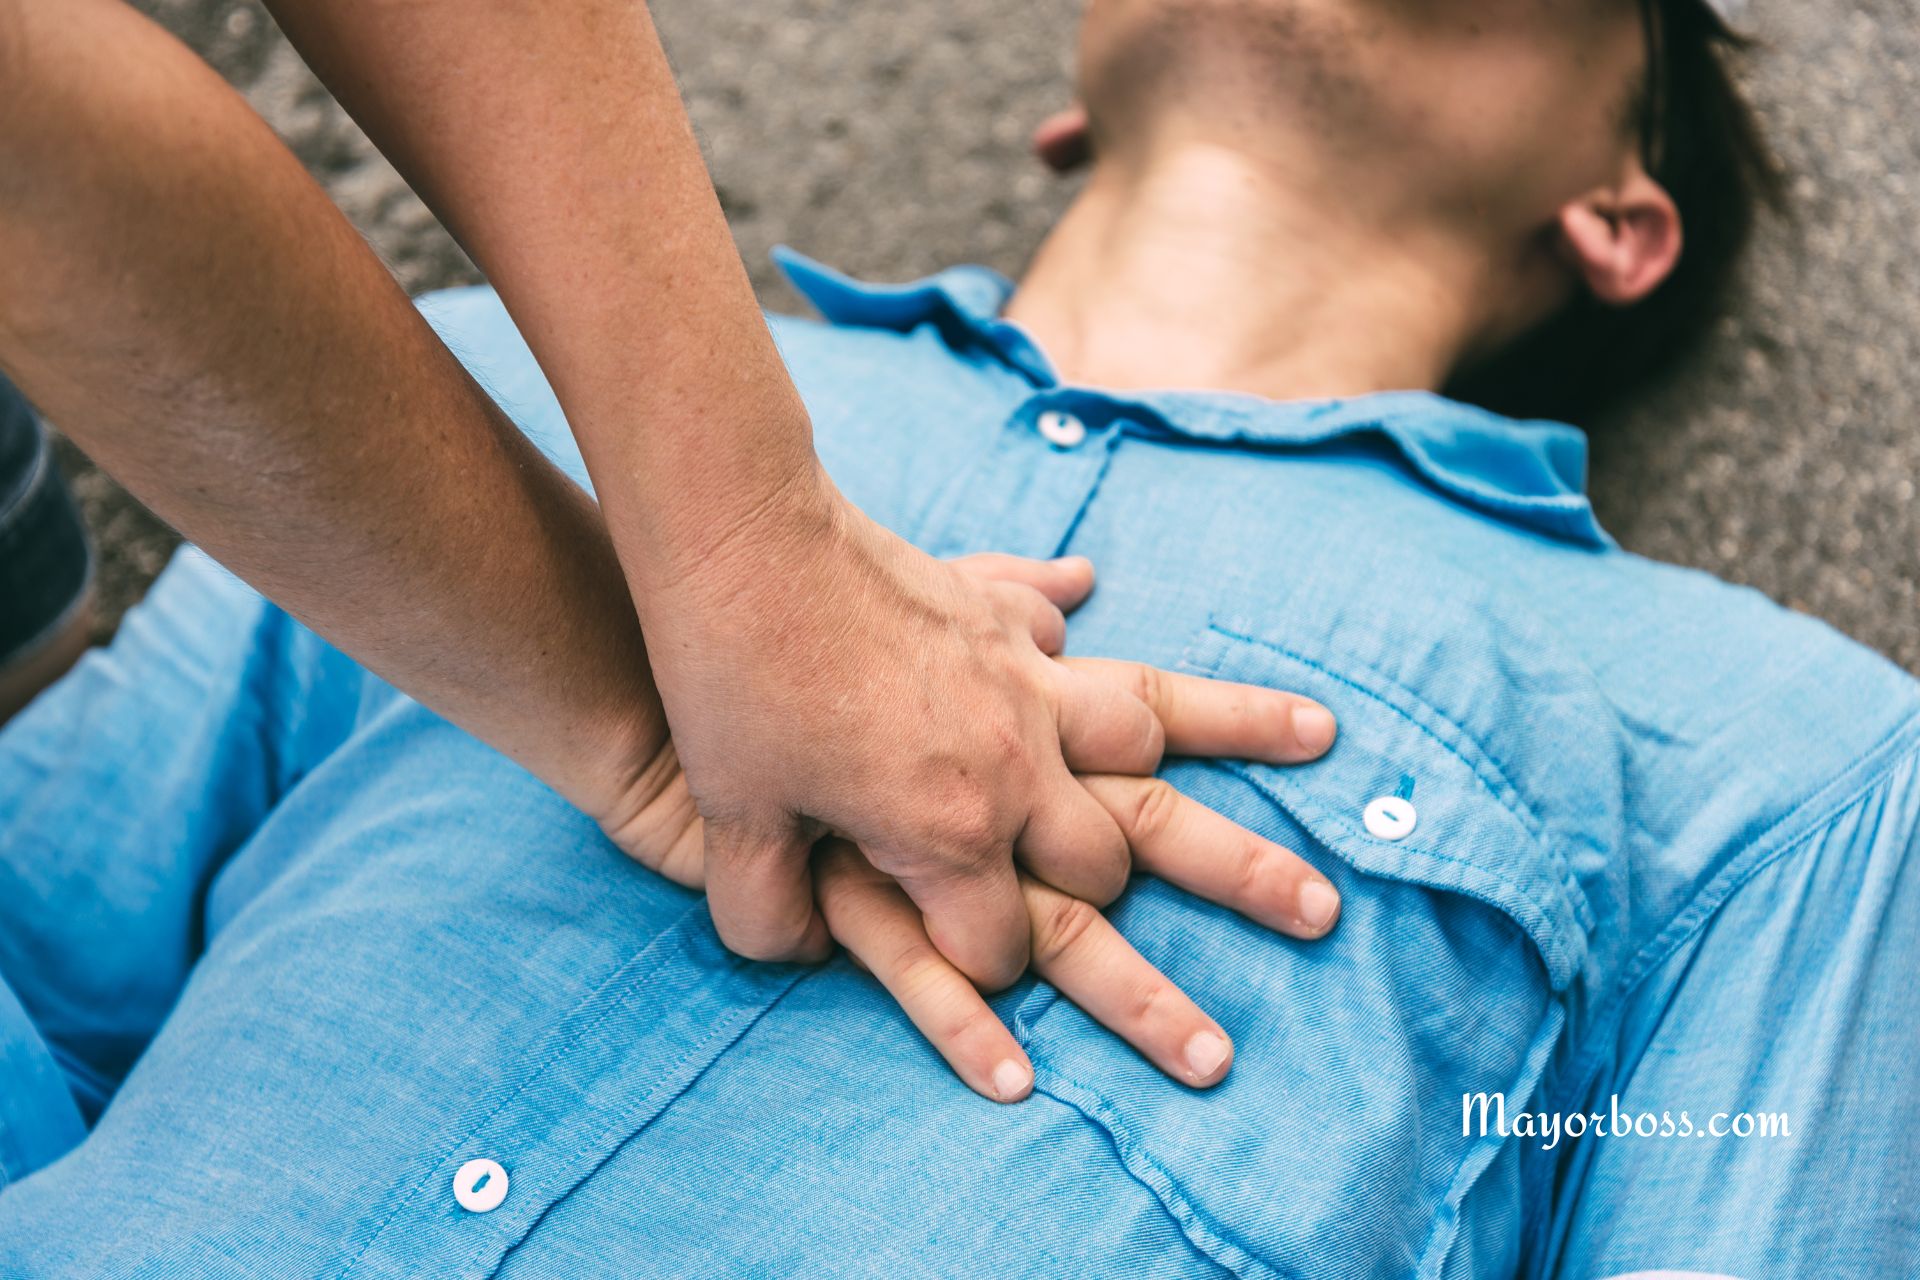
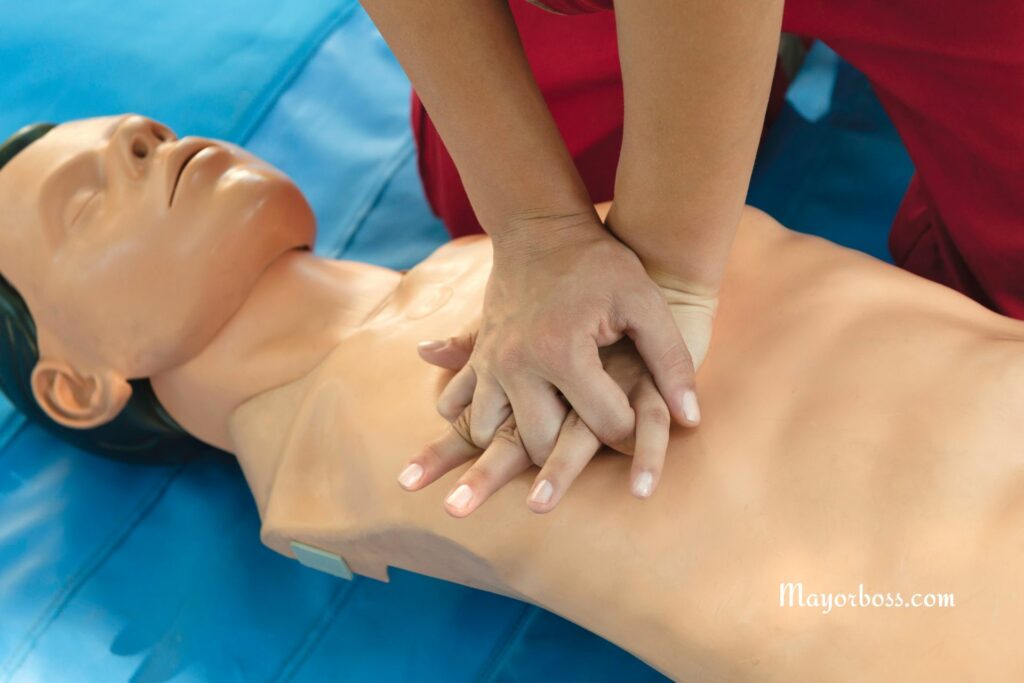
Step 1: Chest Compressions
- Position Your Hands: Place the heel of one hand on the center of the person’s chest. Place your other hand on top of the first, interlocking your fingers.
- Get in Position: Ensure your shoulders are directly above your hands. Keep your arms straight.
- Begin Compressions: Use your body weight to press straight down on their chest at least 2 inches deep but not exceeding 2.4 inches and at a rate of 100 to 120 compressions per minute. The Bee Gees’ song “Stayin’ Alive” is famously the right tempo for this.
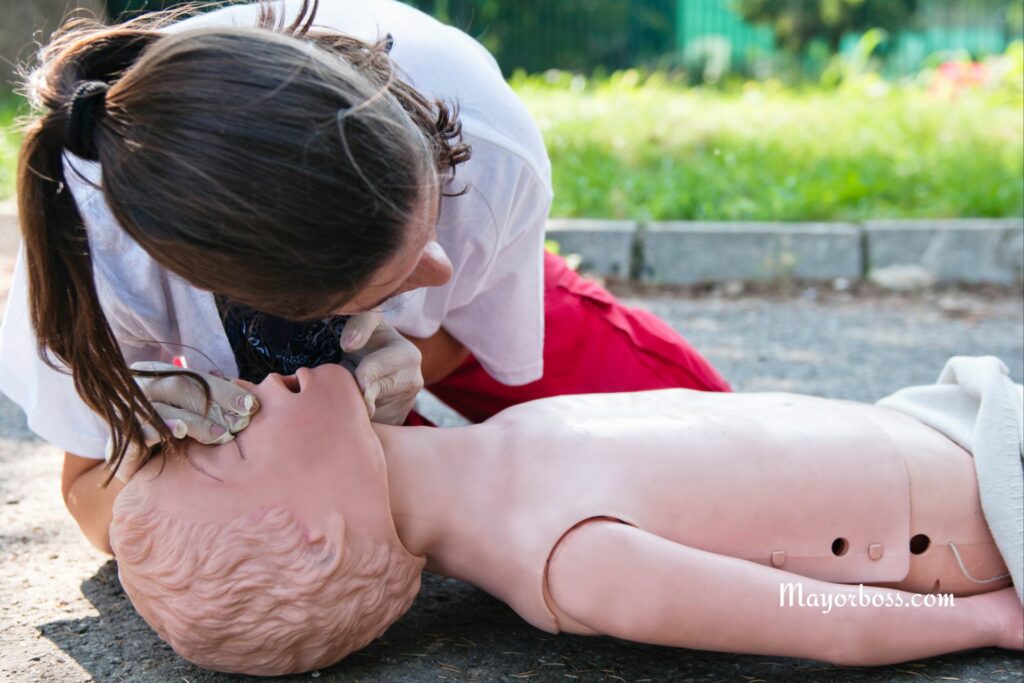
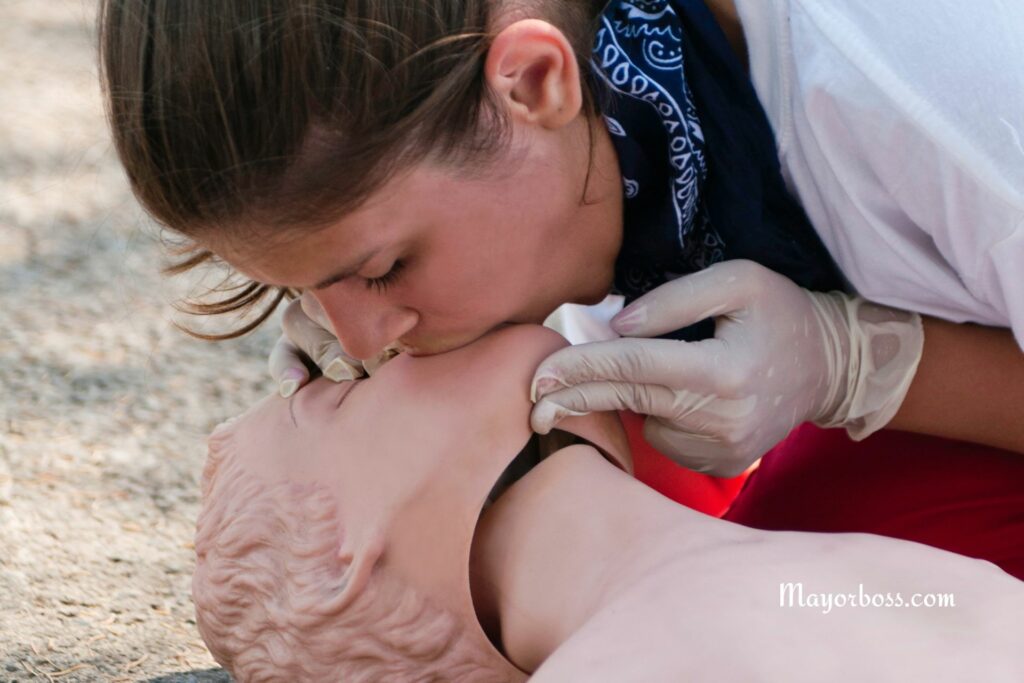
Step 2: Rescue Breaths
- Open the Airway: Lift the person’s chin with one hand and tilt their head back slightly with the other hand to open the airway.
- Give Rescue Breaths: Pinch the victim’s nose shut. Cover their mouth with yours to create a complete seal. Blow into the person’s mouth to make the chest rise. Give two breaths, each lasting about one second.
Step 3: Repeat
Continue performing cycles of 30 chest compressions followed by two rescue breaths. If you’re trained in CPR and confident in your abilities, you can check for breathing and a pulse before continuing CPR. However, if you’re unsure, just keep going with the compressions and breaths until professional help arrives or the person starts to show signs of life.
When to Stop CPR
You can stop performing CPR if you notice signs of life if the scene becomes unsafe, if you’re too exhausted to continue, or if professional medical personnel take over.
Important Considerations
- Compression-Only CPR: If you’re not comfortable giving rescue breaths, give compression-only CPR. Just keep doing chest compressions at the recommended rate and depth.
- CPR for Children and Infants: The technique varies slightly for children and infants. Use one hand for chest compressions for children and two fingers for infants. Be more gentle, especially with rescue breaths.
Frequently Asked Questions
Q: Can I hurt someone by performing CPR? A: While it’s possible to break a rib or cause other injuries, the risk is far outweighed by the potential to save a life. Don’t let fear of causing harm stop you from taking action.
Q: Do I need to be certified to perform CPR? A: You don’t need certification to perform CPR in an emergency. However, taking a CPR course can greatly improve your skills and confidence.
Q: How often should CPR certification be renewed? A: It’s generally recommended to renew your CPR certification every two years to stay up-to-date on the latest guidelines and techniques.